

Serge Mouille lighting fixtures are renowned for their sculptural design and elegant lines. This guide will help you install this ceiling light safely and correctly, bringing brilliance to your space.
Pre-installation preparations and safety precautions
 1.Safety First: Disconnect the Power Supply
- Locate the Circuit Breaker: Before starting installation work, you must locate the main circuit breaker (air switch) controlling the circuit for this light fixture and completely turn it off.
- Confirm Power Off: It is best to use a non-contact tester or multimeter to test the wiring in the ceiling junction box. Only proceed after confirming that the wiring is not energized.

2.Tools and Accessories List (Preparation)
Essential tools: Sturdy ladder, Phillips screwdriver, flathead screwdriver, non-contact voltage tester, wire strippers (may be needed), measuring tape, pencil.
3.Environment and Personal Preparation
- Ensure your ladder is placed on a stable surface.
- Do not attempt installation when tired or in a rush.
- If you are unfamiliar with home wiring, it is strongly recommended that you consult or hire a professional electrician to complete step 3 (wire connection).
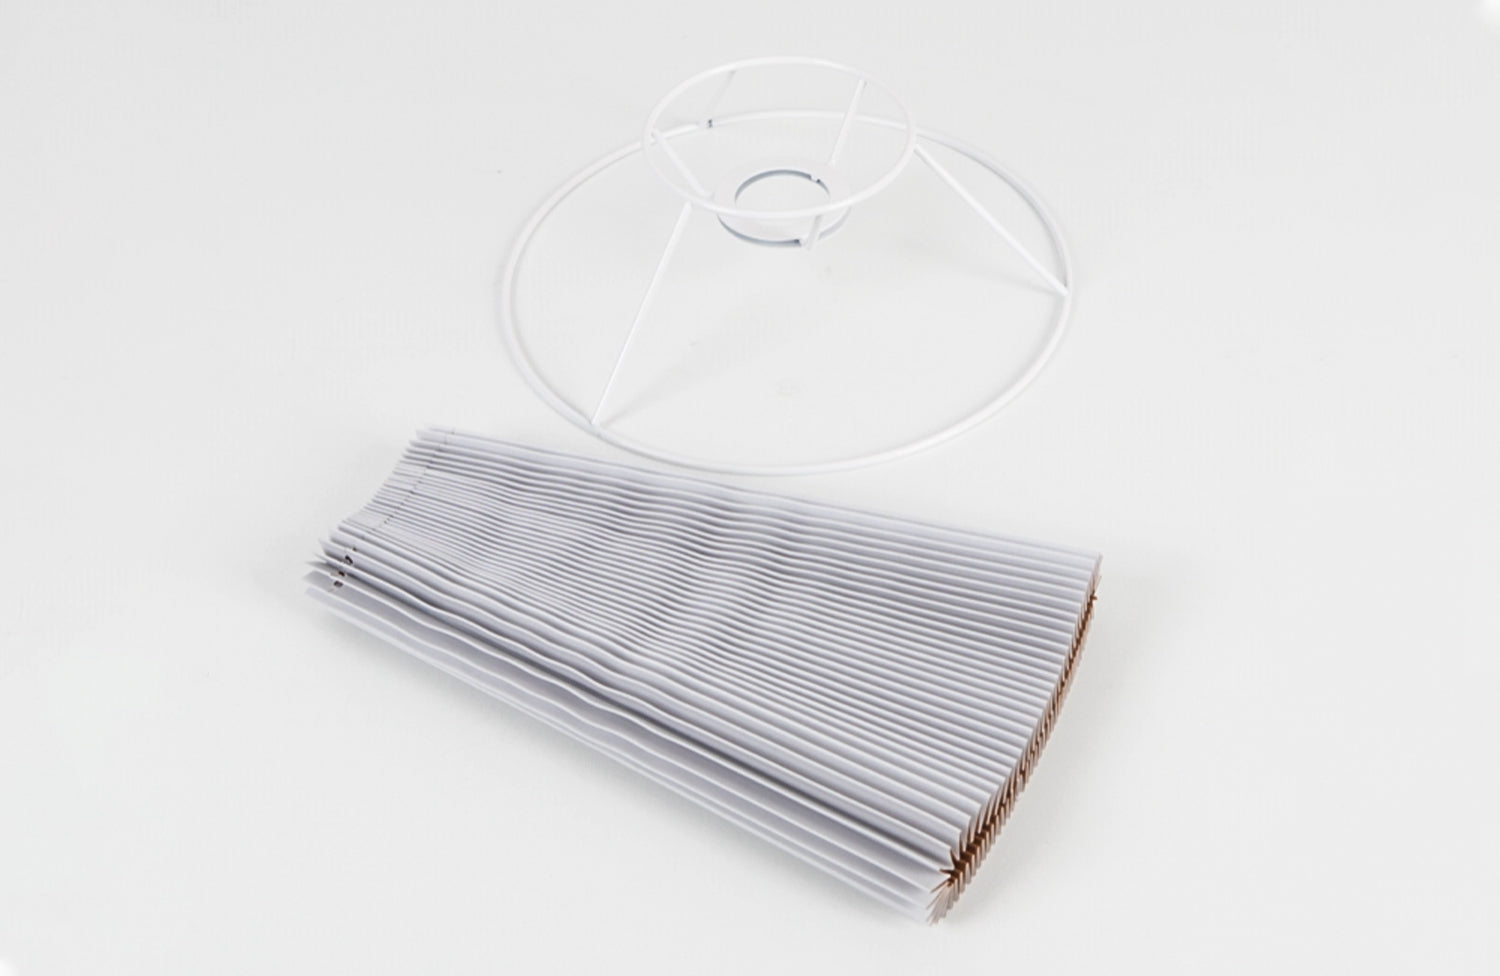
4.📦 Unpacking and Inventory Inspection
- 🔪 Careful Unpacking: Do not use a utility knife or scissors to directly cut open the packaging to avoid scratching the surface of the lamp or the reflector.
- 🔎 Check the List: Verify that all parts are complete and undamaged.
- Lamp Body (Lamp Arm/Reflector)
- Ceiling Base/Disc
- Connectors/Screw Pack
- Installation Instructions (Please read carefully)

- 🔍 Check for Damage: Inspect the lamp for dents, scratches, or bends caused during transportation. If any are found, please contact the seller immediately.
- 🛠️ Fixture Assembly
- 📝 Read the Instruction Manual: The details of this step are highly dependent on the specific model. Please refer to your official instruction manual.
Installing the Robotic Arm
🔩Before installation, we first inspect all components, ensuring the lamp body, lamp arm, base, wires, and screws are all present. Then, assemble according to the steps:

- Place the main lamp arm and support rod on a flat surface, confirming the wiring direction.
- Connect the lamp arm to the central connecting rod, ensuring the joint is secure.
- Insert the upright of the support base and tighten with screws.
- Thread the wires through the base, preparing for subsequent wiring.
- Install the top mounting plate, organizing the wires.
- Connect the wires in the lamp body to the internal wires of the main rod and secure with anti-loosening connectors.
- Double-check the angle and direction of each lamp arm, ensuring it is level and symmetrical.
- Tightly lock all components in place, ensuring structural stability.
- Gently lift the lamp during installation, adjusting its overall posture.
- After completing the final checks, confirming all joints are secure and wires are unobstructed, you can begin wall mounting and power testing.
The entire process embodies the technological steps from component assembly to overall molding, requiring meticulousness and accuracy at every step to ensure that the lamps are installed securely and that the light is evenly distributed.
⚡️ Wire Connection (Hard Wiring)
Before connecting the wires, disconnect the power supply to ensure construction safety.

- First, sort the internal wires by color, straighten them, and strip appropriate lengths of copper wire. Next, twist wires of the same color (usually live and neutral wires) together, ensuring full contact between the conductors. Then, secure the joints firmly with special connector caps and further wrap them with insulating tape to prevent loosening and short circuits.
- After confirming all wire connections are secure, neatly store the wires inside the ceiling tray, keeping the wiring clean and orderly.
- Next, install the mounting brackets on the ceiling and secure them to the electrical box with screws. Connect the chandelier's wires to the ceiling power cord one by one, securing them with terminals or connector caps, ensuring each wire is connected correctly and without error.
- Finally, double-check the stability and polarity of the wire connections. Once confirmed, install the light fixture and test the power.
- The entire hard wiring process requires meticulousness and patience to ensure each wiring step is safe and standardized, providing reliable protection for the subsequent use of the lighting fixtures.
🔩 Installing and Adjusting the Light Fixture Body
After connecting the wires, we begin installing the main body of the light fixture.

- First, align the pre-connected mounting plate with the mounting bracket on the ceiling. Carefully push the main body cover upwards, ensuring it fits snugly against the ceiling surface and preventing internal wiring from being compressed.
- Next, use an electric screwdriver to align and tighten the mounting plate cover with the mounting bracket. Each screw must be securely tightened to ensure stable support between the mounting plate and the ceiling.
- During tightening, support the light fixture with one hand while operating the screws with the other, ensuring the fixture remains balanced and preventing shifting or tilting.
- Finally, double-check the tightness of all screws. Once the main body is confirmed to be securely fixed without any wobbling, the installation of the main body is complete.
- This step is crucial, as it determines the overall stability and safety of the light fixture and prepares the ground for subsequent adjustments to the lamp arm angle and lighting tests.
🌟Light bulb installation and final inspection

- Installing the Bulb: Confirm the lamp holder specifications. This luminaire requires bulbs with E26 or E27 sockets.
- Important Warning: Always check the maximum power rating on the luminaire label and never exceed this limit to prevent overheating and fire hazards.
🎥Video Support: From Installation to Lighting
If this is your first time installing or you have any questions about the written instructions, we strongly recommend watching the accompanying official installation video. The video provides the most intuitive and detailed step-by-step demonstration to ensure a smooth installation.
✅ Restore Power and Test
- Restore Power: Return to the main circuit panel (electrical box) and turn the power switch back on.
- Test: Turn on the wall switch and test if the light fixture lights up normally.
- Congratulations! Your Serge Mouille-style ceiling light installation is complete!